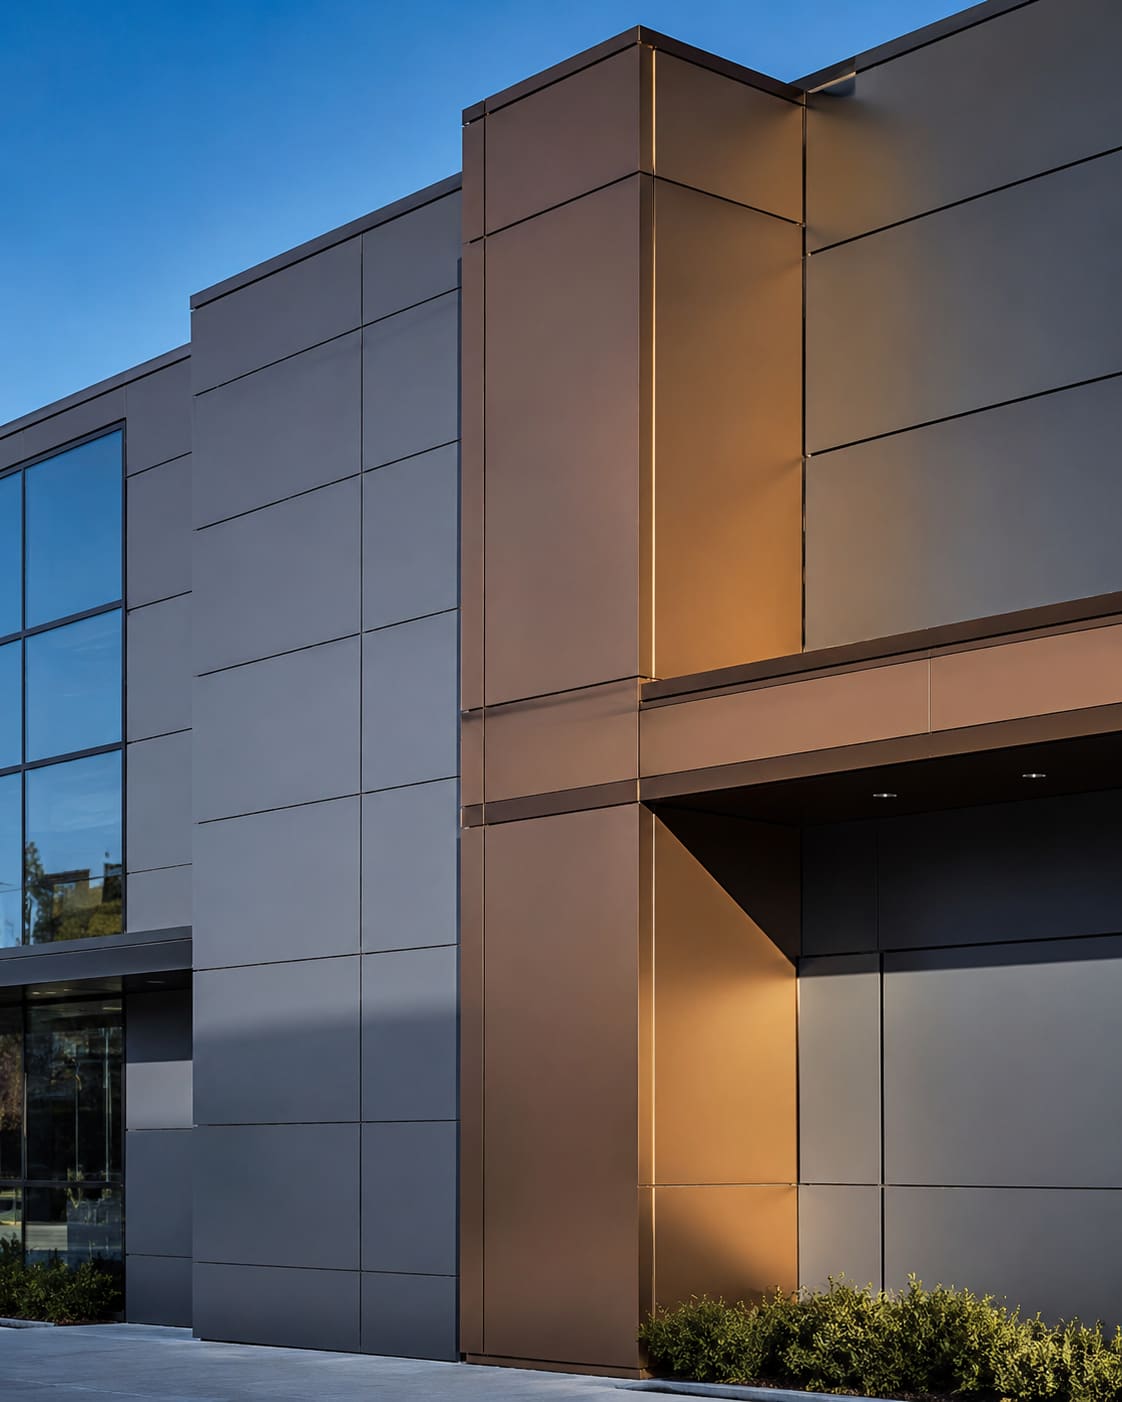
ACP cladding is installed by mounting routed, grooved and folded aluminium composite panels onto an aluminium sub-frame that is anchored to the building structure, leaving a ventilated air gap behind the panels, and then sealing or gasketing the joints. The professional sequence is: dimensional site survey and shop drawings, substrate preparation, setting out and levelling, erecting the aluminium framework, fabricating (routing and folding) the panels into cassettes, hanging and mechanically fixing the panels, and finally sealing the joints and peeling the protective film. If you are planning a facade in Hyderabad or Secunderabad, our ACP cladding team follows exactly this method on every elevation.
Aluminium Composite Panel (ACP) is a sandwich of two 0.5 mm aluminium skins bonded to a 3 mm polyethylene (PE) or fire-retardant (FR) mineral core, giving a nominal thickness of 4 mm. Because ACP works as a rainscreen rather than a waterproof membrane, correct installation of the framing, air gap and drainage joints matters as much as the panel itself. A poorly framed elevation will oil-can, leak or corrode within a few monsoons, whichever brand of panel you buy, which is why the workmanship on the sub-frame and joints is the real decider of quality.
This guide sets out the step-by-step method used for exterior facades, 3D elevations and canopies across Telangana and Andhra Pradesh, with the tolerances, fixings and Indian standards that govern each stage. It also covers realistic INR costs and where ACP fits alongside our 3D elevation work. You can see completed elevations in our recent projects, and if you would rather skip the theory you can get a free quote and we will survey your building directly.
How ACP Cladding Is Installed: The Process at a Glance
How ACP cladding is installed comes down to five controlled stages, each with its own tolerances and checks. Understanding the whole sequence first makes each detailed step below easier to follow.
- Stage 1 - Survey, measurement and shop-drawing design that fixes panel modules, joint widths and the framing grid.
- Stage 2 - Substrate preparation and erecting the aluminium sub-frame, plumb and true, with a ventilated cavity.
- Stage 3 - Routing, grooving and folding flat sheets into rigid trays (cassettes) in the workshop or on site.
- Stage 4 - Hanging and mechanically fixing the panels bottom-to-top using either the grooving or cassette system.
- Stage 5 - Sealing or gasketing the joints, cleaning, peeling the film and final inspection before handover.
The panel is only ever a skin. The engineering that keeps a facade safe, flat and dry lives in the framing and jointing, which is why an experienced installer matters far more than the ACP brand printed on the protective film. Across our services the same discipline underpins every facade we deliver.
Step 1 - Survey, Measurement and Shop-Drawing Design
The first step is a dimensional site survey and a shop-drawing layout that fixes panel sizes, joint widths and the framing grid before any material is cut. Facade engineers map the building surface, mark deviations from plumb, and design the panel module (commonly 1220 x 2440 mm raw sheets cut to size) so that joints align cleanly across floors, columns and openings.
- Wind pressure on the panels and anchors is calculated per IS 875 Part 3, which is critical for exposed high-rise facades in the Gachibowli and HITEC City corridors of Hyderabad.
- Joint width is typically set at 10-15 mm to absorb thermal movement; aluminium expands roughly 2.4 mm per metre for every 100 degrees C swing, and dark PVDF panels get very hot in Telangana summers.
- Panel grade is selected here: PE core for signage and low-rise, FR or A2 non-combustible core for buildings taller than 15 m per NBC 2016.
- Setting-out drawings also decide where movement joints, corner returns and drip flashings sit, so nothing is improvised on the scaffold.
Getting this stage right is the cheapest insurance on the whole project. A one-day survey error becomes a very expensive re-fabrication once panels are routed to the wrong size, so it pays to let the design settle before a single sheet is grooved.
Step 2 - Substrate Prep and Erecting the Aluminium Sub-Frame
The aluminium sub-frame is the load-bearing skeleton and is installed by anchoring vertical and horizontal members to the wall or structural slab with expansion bolts or MS brackets. This framework carries all panel weight and wind load, so the ACP itself never fixes directly to masonry.
- Framing uses 40x40 mm or 50x50 mm hollow aluminium sections (or GI channels) fixed to L-brackets at 600-1200 mm centres, sized from the wind-load calculation.
- The frame is set plumb and true within a tolerance of about 2-3 mm over 3 m; laser levels and string lines verify the plane.
- A 20-25 mm ventilated cavity is maintained behind the panels so the assembly works as a drained-and-ventilated rainscreen, cutting heat gain when surface temperatures cross 40 degrees C in Hyderabad and Secunderabad summers.
- All steel brackets are galvanised or coated to prevent bimetallic (galvanic) corrosion where they meet aluminium.
This disciplined framing approach is what allows crisp, complex geometry later. On sculpted elevations we coordinate the bracket line for the cladding with the framing for our 3D elevation work, so every plane change stays flush and true rather than being packed out on site.
Step 3 - Routing, Grooving and Folding the Panels
Panels are fabricated into rigid trays by routing a V-groove along the fold lines, leaving roughly 0.5 mm of the back aluminium skin, then bending the edges 90 degrees to form a tray or cassette. This grooving-and-folding gives the flat sheet the rigidity and clean returned edges needed for a flush, shadow-line facade.
- A CNC router or hand groover cuts the V-groove; over-cutting into the front skin causes hairline cracks, so residual core thickness is controlled precisely.
- Folded edges are typically 20-25 mm deep and stiffened with internal aluminium angle or stiffeners on larger panels to stop oil-canning.
- Corners are notched and either riveted or corner-cleated so water drains outward, not back into the cavity.
- The protective PVDF or PE film stays on the face throughout fabrication and is removed only after installation.
This is precision workshop work. The difference between a crisp premium elevation and a wavy budget one is almost entirely down to routing accuracy and edge stiffening, not the panel price. The same fabrication discipline is what separates our ACP cladding from cheaper subcontract work in the market.
Step 4 - Fixing the Panels: Grooving vs Cassette System
Fabricated panels are fixed to the sub-frame by one of two methods: the grooving (tape-and-screw) system, where panels are bonded and screwed to the frame, or the cassette (hook-on) system, where folded trays hang on aluminium rails and are mechanically secured. The cassette system is preferred for high-rise and premium facades because panels are demountable and joints are cleaner.
- In the cassette system, trays hook onto carrier rails and are fixed with concealed clips or screws, allowing a single damaged panel to be replaced without disturbing its neighbours.
- In the grooving system, panels are attached with a combination of structural tape and stainless-steel self-drilling screws at 300-400 mm centres.
- Installation runs bottom-to-top and maintains consistent joint lines; each panel is checked for plane before the next is fixed.
- Fasteners are stainless steel (SS 304) to resist corrosion over the facade's 25-plus year life.
Which system suits you depends on building height, budget and how important future maintenance access is. If you are unsure, get a free quote and our surveyor will recommend the right system against your drawings and elevation heights.
Step 5 - Sealing, Finishing and Handover
The final step is treating the joints, either with a weatherproof silicone sealant over a backer rod or with open, gasketed rainscreen joints, followed by cleaning and removal of the protective film. Correct jointing controls water ingress and lets the wall cavity breathe.
- Sealed joints use a neutral-cure weatherproofing silicone over a closed-cell backer rod; structural silicone applications follow ASTM C1401 guidance.
- Open-joint rainscreen designs rely on the ventilated cavity and drainage rather than sealant, and are increasingly specified for premium ventilated facades.
- The protective film is peeled within 45-60 days of exposure to avoid the adhesive baking onto the PVDF coating in direct Telangana sun.
- Final inspection checks alignment, joint uniformity, sealant continuity and clear weep paths before handover with the coating warranty, typically 10-25 years for PVDF.
A clean handover is where good detailing shows. When ACP is combined with sculpted feature bands on our 3D elevation work, the sealing and drainage details are coordinated across every material rather than patched at the interfaces, which is what keeps a facade dry through repeated monsoons.
Materials, Specs and Options You Can Choose
Beyond the process, several material choices shape how a clad facade looks, performs and prices out. Fixing these early keeps the shop drawings and budget accurate.
- Core type: PE (economy, signage and low-rise), FR / fire-retardant (mineral-filled, mid to high-rise), and A2 non-combustible (highest fire class, premium and public buildings).
- Skin thickness: a genuine facade panel uses two 0.5 mm aluminium skins; under-thickness grey-market sheets at 0.21-0.3 mm dent and oil-can easily and should be avoided outdoors.
- Finish: PVDF (Kynar 500 type) coatings for long-life exterior colour retention, versus cheaper polyester (PE paint) finishes meant for interiors only.
- Colours and effects: solids, metallics, brushed, mirror, timber and stone-look prints, plus custom RAL matching for corporate branding.
- System: grooving/tape-and-screw for value work, cassette hook-on for premium demountable facades.
For most commercial elevations in Hyderabad we recommend an FR-core PVDF panel on a ventilated sub-frame as the sensible middle ground, stepping up to A2 cassette systems on genuine high-rises where fire class and maintenance access justify the extra cost.
ACP Cladding Cost in Hyderabad and Secunderabad (INR)
Installed ACP cladding costs roughly INR 180-450 per square foot in Hyderabad and Secunderabad, covering panel, aluminium sub-frame, fabrication, fixing and sealing. The spread reflects core grade, finish and system rather than area alone.
- Economy PE-core panels with a grooving system: about INR 180-260 per sq ft, suited to boundary walls, low-rise and signage.
- FR-core panels on a proper ventilated sub-frame: about INR 260-360 per sq ft, the workhorse choice for commercial elevations.
- A2 non-combustible core with a cassette hook-on system and premium PVDF finish: about INR 360-450-plus per sq ft for high-rise and institutional facades.
- Height, access equipment (scaffold vs suspended cradle) and complex 3D geometry add to labour cost, sometimes significantly on tall buildings.
Ballpark rates help you budget, but a firm number needs a site survey. You can review finished elevations in our recent projects to gauge quality, then get a free quote for a measured estimate against your drawings.
Fire Safety, Standards and Common Installation Mistakes
The single most important compliance decision is core grade: fire-retardant (FR) or A2 non-combustible ACP is strongly recommended for buildings above 15 m and is essential thinking for any high-rise or public facade under NBC 2016. Pure polyethylene cores spread flame and have been implicated in facade fires worldwide, so grade is not the place to economise.
- Follow IS 875 Part 3 for wind load, NBC 2016 for fire performance, and manufacturer specifications for panel span and fixing centres.
- Insist on genuine branded panels with a written PVDF coating warranty; grey-market sheets often use under-thickness skins instead of a true 0.5 mm.
Common installation mistakes we are called in to correct include:
- Fixing panels directly to masonry with no sub-frame or air gap, causing bulging and trapped moisture.
- Skipping stiffeners on large panels, which then oil-can and ripple in sunlight.
- Over-routing the groove into the front skin, leading to cracks along the fold lines.
- Mixing bare steel brackets with aluminium and triggering galvanic corrosion.
- Leaving the protective film on for months until it bakes onto the finish.
Avoiding these is far cheaper than remedial work. If you have inherited a problem facade anywhere in Telangana or Andhra Pradesh, our ACP cladding team can survey it and advise whether it needs re-fixing or full replacement.